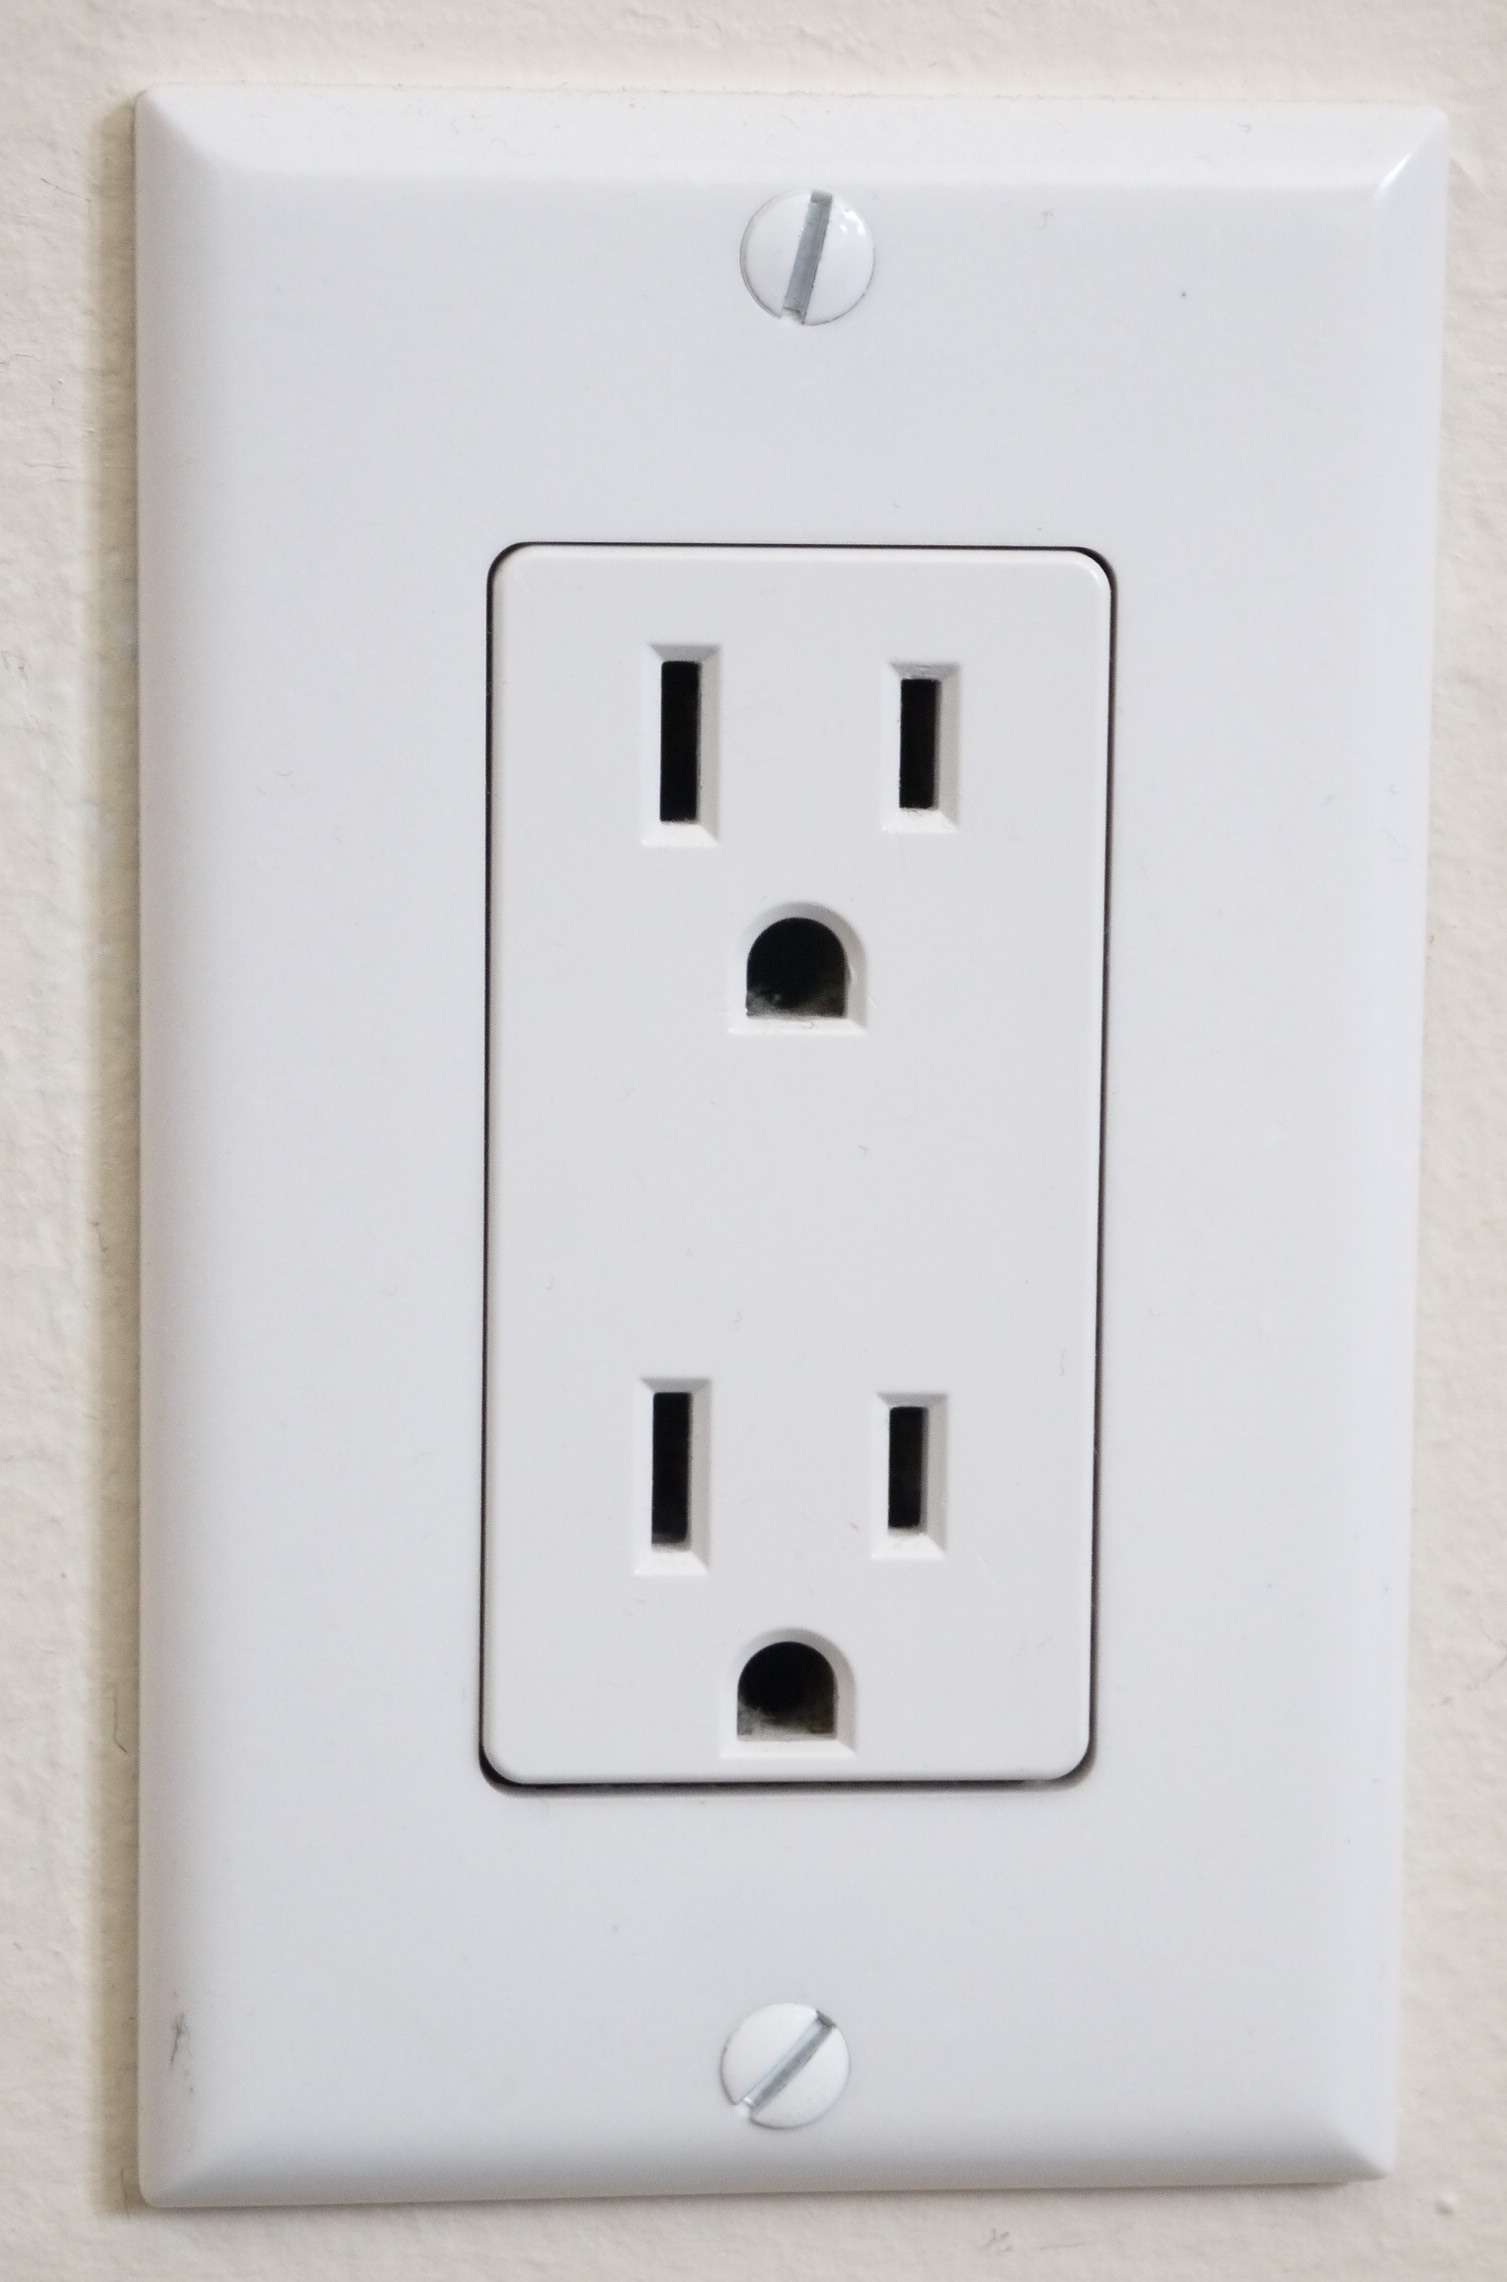
Replacing Your Wall Receptacle
Do you have an electrical outlet that’s not working properly? Perhaps it’s a two-plug receptacle and only one plug is working; or perhaps you’re not getting any power from either plug. Believe it or not, replacing your wall receptacle is something you can do on your own. Here we break it down for you in six easy steps.
1. MOST IMPORTANT: TURN OFF THE POWER TO THE RECEPTACLE!
Working with electricity can be dangerous. The single most important step you’ll take in this process is the first one: SHUT OFF THE POWER! If you’re not an experienced electrician, skipping this step could be deadly!
So how do you do this? Simple: Just go to your breaker box and turn off the breaker that controls the receptacle you want to change. If you’re not sure which breaker controls your receptacle, just turn off the whole panel.
To be sure the power is off, take a working lamp (or other electrical device) and plug it into each plug in the outlet, first one and then the other. Alternatively, you can use a multimeter, if you have one.
2. REMOVE THE RECEPTACLE FROM THE WALL.
Once you’re certain that the power is off, you want to remove the receptacle from the wall. This requires several actions:
- Using a flathead screwdriver, remove the face plate that covers the receptacle.
- Again, using a flathead screwdriver, remove the screws that hold the receptacle to the wall.
- Gently pull the receptacle out of the wall.
3. DETACH THE WIRES.
If you have a newer outlet, it will have three wires: the live wire (black), the neutral wire (white), and the ground wire. An older outlet may have only two wires: neutral (white) and live (black).
Remove the wires by pulling them out of the back of the outlet or by unscrewing them from the screws on the side, depending upon how they are connected. If you have trouble disconnecting the wires, you can also cut them with wire cutters—but cut close to the connection so as not to shorten the wires too much.
4. ATTACH THE NEW RECEPTACLE.
- Make sure that your wires have enough of the insulation stripped away to ensure a good connection. If not, you can strip them using a wire stripper or even just a sharp knife and a pair of pliers.
- Next, connect your neutral wires (white) to the left side of the receptacle (in grounded receptacles, this is the side with the larger slit for the plug). You can connect the wires either by inserting them into the holes provided in the back of the receptacle, or by wrapping the wires around the terminals (screws) on the side, using a Phillips-head screwdriver.
- Connect the ground wire to the terminal (screw) at the bottom of the outlet, using a Phillips-head screwdriver.
- Finally, connect the live (black) wires to the right side of the receptacle (in grounded receptacles, this is the side with the smaller slit for the plug). Again, you can connect the wires either by inserting them into the holes provided in the back of the receptacle, or by wrapping the wires around the terminals (screws) on the side, using a Phillips-head screwdriver.
5. RE-ATTACH THE RECEPTACLE TO THE WALL.
With all of the wires attached, gently fold the wires into the wall until the receptacle can be screwed into the wall at top and bottom. This will require a flathead screwdriver.
Finally, place the outlet cover over the receptacle and screw it into place.
6. RESTORE THE POWER AND TEST.
Now that your receptacle has been changed, you should be able to safely return to the circuit breaker box and turn on the power. Plug a working light (or other electrical device) into the receptacle and ensure that it is working.
That’s all there is to it!