Monthly Archives: June 2017

Replacing an Electrical Breaker

Your breaker box is the electrical hub of your home. All of the electrical circuits in your home lead to the box (or boxes), where they pass through breakers that are designed to shut down the flow of electricity in the event that there is an excess draw on one or another circuit. Occasionally, these breakers burn out; and when that happens, they will need to be changed. If your breaker trips and you can’t reset it, chances are your breaker is burned out and needs to be replaced. A great deal of electricity is passing through your breaker box, so a mistake can be deadly! You should consider hiring a licensed electrician to replace the breaker for you. But it’s always a good idea to know what your contractors are doing in your home, so here’s a brief overview of what’s involved in replacing an electrical breaker.

STEP 1: MAKE SURE THE BREAKER IS OFF.

This is the single most important step in the process, because skipping it can KILL you! Locate the main breaker for the box and shut it off. It’s also a good idea to wear rubber-soled shoes and rubber lineman’s gloves, and to use rubber-insulated lineman’s tools. Be sure that the floor you’re standing on is dry; for added safety, stand on a rubber mat. And as a rule, even when the power is off, only touch what you absolutely must touch to complete your task.

STEP 2: REMOVE THE FRONT PANEL OF THE BREAKER BOX

The face plate of the breaker box is held on by just a few screws. Removing it will give you access to the wires and the individual breakers.

STEP 3: REMOVE THE DEFECTIVE BREAKER

The breaker itself is not screwed into the box; it’s clipped in place. To remove it, grasp it firmly at the edges and snap it toward the outside of the box. This should dislodge the breaker from the box, though it will still be connected by the wire.

STEP 4: DISCONNECT THE WIRE

Once the breaker is free from the box, use an insulated lineman’s flat-head screwdriver to loosen the screw holding the wire in place.

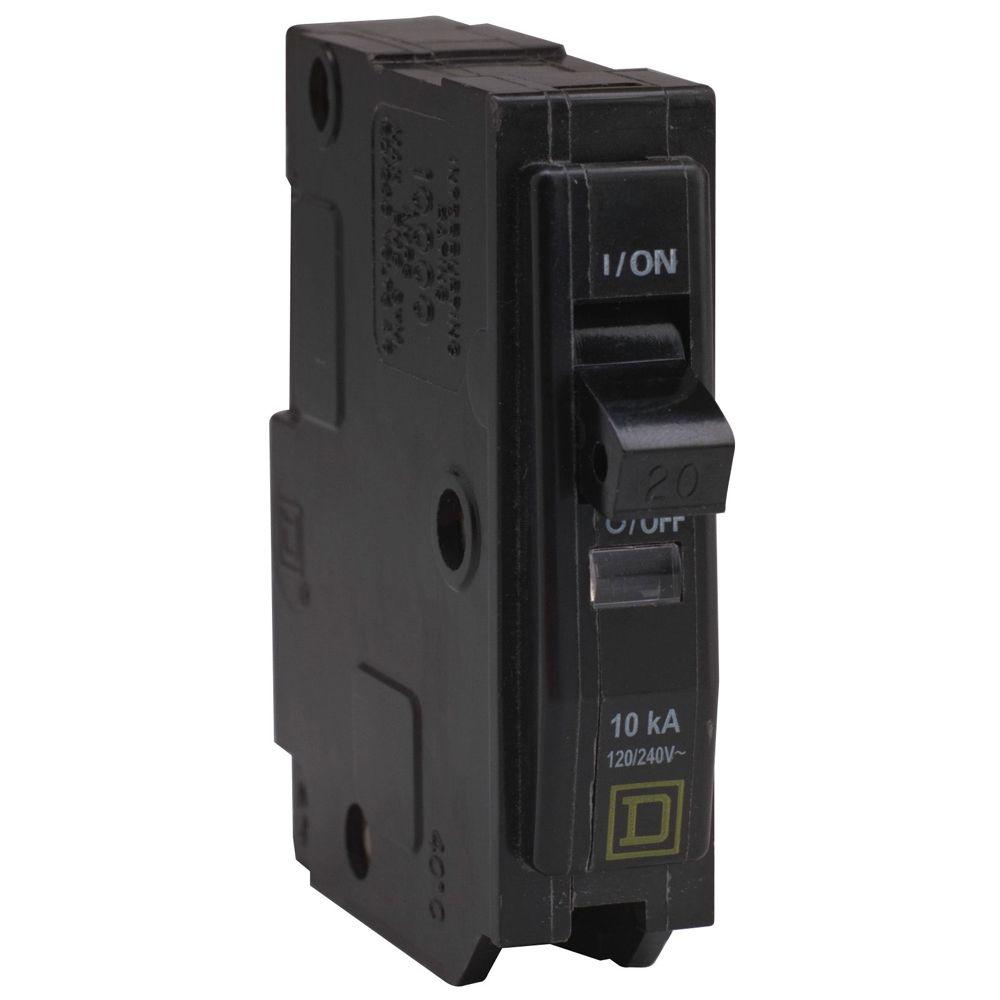
STEP 5: ATTACH THE WIRE TO THE NEW BREAKER

Be sure that the new breaker you’re installing has the same specs as the one you’re replacing. Taking your new breaker, insert the power wire into the slot on the breaker and tighten it with your flat-head screwdriver. In attaching the wire, be sure that it is only the copper wire that is being tightened into the slot; you don’t want to pinch any of the black insulation. Tighten the screw firmly in place to ensure that it doesn’t loosen over time.

STEP 6: INSTALL THE NEW BREAKER

With the new breaker already connected to the wire, place the breaker into its slot in the box and snap it into place.

STEP 7: REPLACE THE COVER

While the power is still off, replace the face plate of the breaker box and screw it into place.

STEP 8: RESTORE THE POWER

It’s a good idea to turn all of the breakers in your box to the “off” position. Now you’re ready to turn on the main power to your box. You can then turn each of the individual breakers on, and power should be restored to your house.

Replacing a Double Breaker (Twin Pole)

Inside your breaker box, you may find some twin-pole electrical breakers, also known as double breakers. If your double breaker has tripped and you find you can’t reset it, it’s likely that your breaker has burned out and it’s time to replace it. Keep in mind: A great deal of electricity is passing through your breaker box, so a mistake can be deadly! You should consider hiring a licensed electrician to replace the breaker for you. But it’s always a good idea to know what your contractors are doing in your home, so here’s a brief overview of what’s involved in replacing an electrical double breaker.

STEP 1: MAKE SURE THE POWER IS TURNED OFF.

This is the single most important step in the process, because skipping it can KILL you!
Locate the main breaker for the box and shut it off. When working with electricity, it’s also always a good idea to wear rubber-soled shoes and rubber lineman’s gloves, and to use rubber-insulated lineman’s tools. Be sure that the floor you’re standing on is dry; for added safety, stand on a rubber mat. And as a rule, even when the power is off, only touch what you absolutely must touch to complete your task.

STEP 2: REMOVE THE FRONT PANEL OF THE BREAKER BOX

The face plate of the breaker box is held on by just a few screws. Removing it will give you access to the wires and the individual breakers.

STEP 3: REMOVE THE DEFECTIVE DOUBLE BREAKER

The double breaker is not actually screwed into the box; it’s held in place by clips, so it just needs to be snapped out. To remove the double breaker, grasp it firmly by the edges and snap it toward the outside of the box. This should dislodge the breaker from the box, though it will still be connected by the wires.

STEP 4: DISCONNECT THE WIRES

Because this is a double breaker, it is connected by not one but two power lines. Both will need to be disconnected. Once the breaker is free from the box, use an insulated lineman’s flat-head screwdriver to loosen the two screws holding the wires in place. Freed from the wires, the defective double breaker can be discarded.

STEP 5: ATTACH THE WIRES TO THE NEW DOUBLE BREAKER

Be sure that the new double breaker you’re installing has the same specs as the one you’re replacing. Taking your new double breaker, insert the power wires into the two slots on the breaker, and tighten them in place with your flat-head screwdriver. In attaching the wires, be sure that only the copper wires get tightened into the slots; you don’t want to pinch any of the black insulation from the wires, as this will impede the connection. Tighten the screws firmly in place to ensure that the wires don’t loosen over time.

STEP 6: INSTALL THE NEW DOUBLE BREAKER

With the new double breaker already connected to the wires, place the breaker into its slots in the box and snap it into place. Of course, because it is a double breaker, it will take up two slots in the box.

STEP 7: REPLACE THE COVER

While the power is still off, replace the face plate of the breaker box and screw it into place.

STEP 8: RESTORE THE POWER

It’s a good idea to turn all of the breakers in your box to the “off” position. Now you’re ready to turn on the main power to your box. You can then turn each of the individual breakers on, and power should be restored to your house.