Monthly Archives: November 2017

Do-it-yourself VoIP

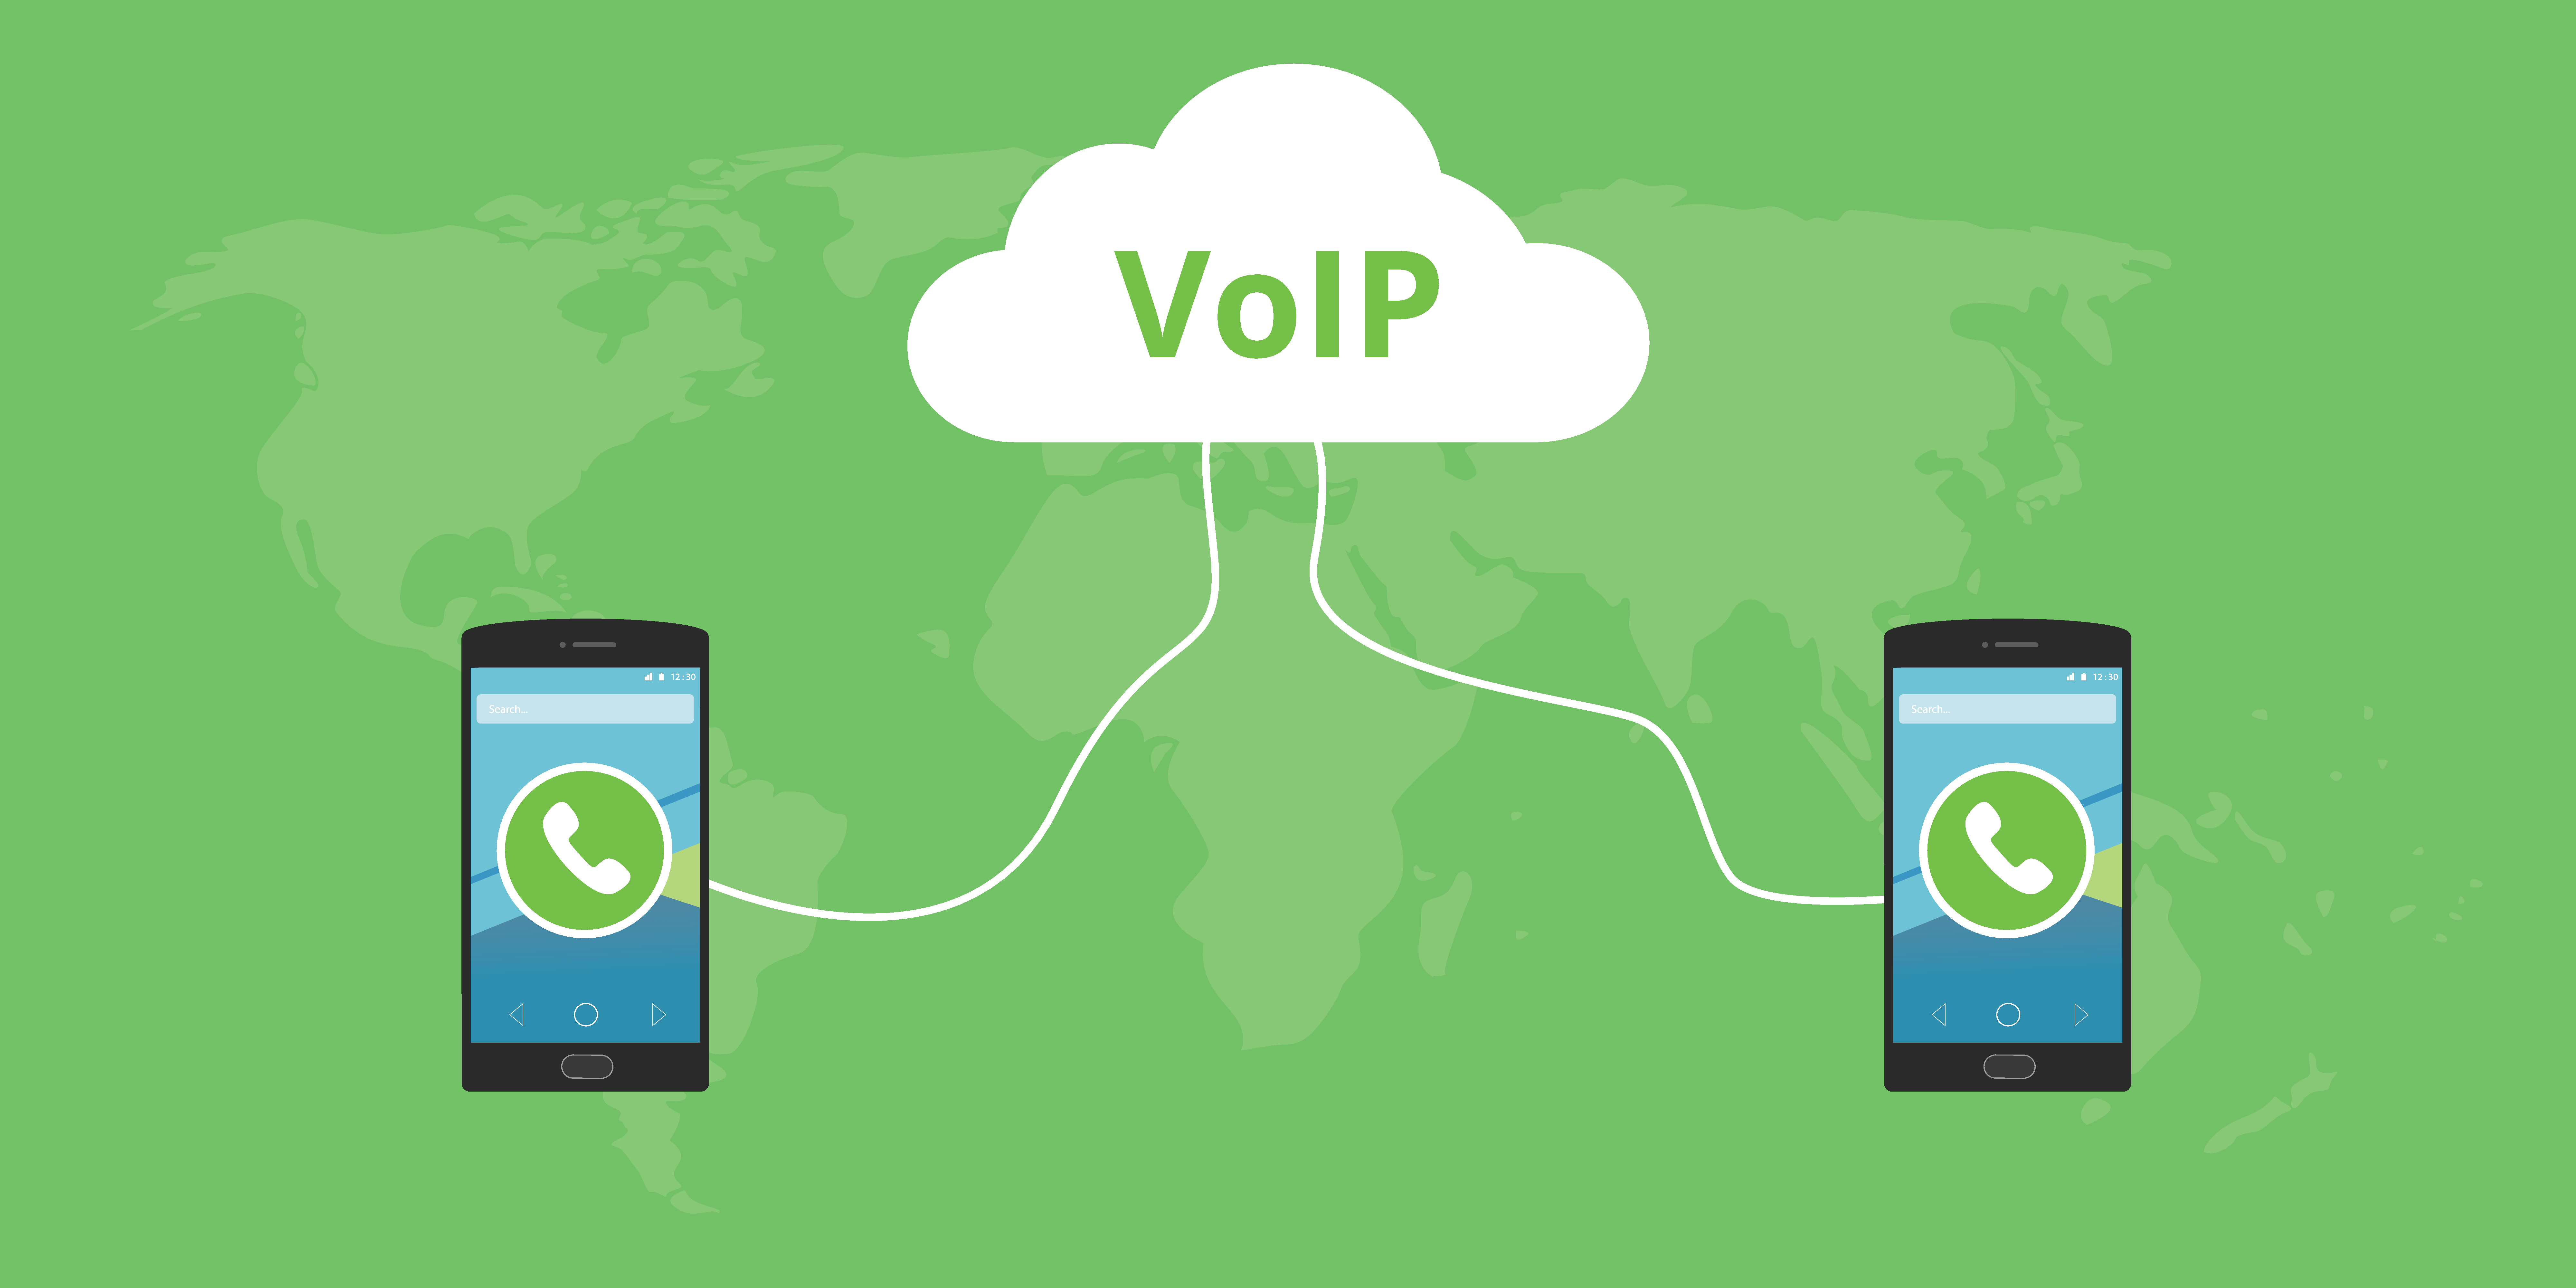
Tired of paying for phone service for your home or business? Consider VoIP-that’s Voice over IP, a way of referring to transmitting real-time voice (and even video) sessions over the Internet, and bypassing your phone company in the process.

If you’re looking to cut the cord to your phone company, you have two main options for how to make the switch to VoIP: (1) A hosted VoIP PBX (that’s Private Branch Exchange, or more simply, phone system), or (2) A Do-It-Yourself VoIP PBX. Here’s what you should know about each of these options.

HOSTED VoIP PBX. You know some of these names already: Skype Connect, Vonage, RingCentral, and GoogleVoice-to name a few. These are existing commercial services you simply buy into, and there’s not much more you need to do. Provide IP phones for your employees, optimize your data network to handle voice traffic, and upgrade to high-speed Internet; your provider will do all the rest. There’s still a cost involved, but it’s much lower than your current phone bill. Of course, all this convenience means you give up something-and that’s customizability and control. Your VoIP phone service will be limited to the options that your third-party vendor offers, and the quality will be dependent on your vendor as well; you won’t have control over things like that. But if you want an easy, inexpensive VoIP solution and you don’t have the tech savvy to build your own system, this may be the way to go.

DO-IT-YOURSELF VoIP PBX. There’s no way around it: Creating your own DIY VoIP PBX takes some technical know-how, so it’s not for everyone. But with open-source software, it may be easier than you think. Probably the most popular solution is Asterisk. You can set it up in four not-so-difficult steps:

  • Buy the server.
  • Install the server software. A Linux OS is most often recommended, and you may also need to install some additional open-source software as well (depending on the version you’re using).
  • Install one of three versions of open-source PBX software (Elastix, PBX in a Flash, or AsteriskNow).
  • Use SIP trunking to connect to the outside world.
  • Buy and connect your telephones.

With that, you’ll have an inexpensive home or business phone system that is customizable to your needs.

Data Punch Down

If you’re installing your own telecommunications system or data network, it’s likely that you’ll encounter a punch-down block and tool (also known as a Krone block and tool, named for the Krone LSA-PLUS, the European counterpart to the American 110 block).

Punch-down blocks are IDC connectors (that’s “insulation displacement connectors”) used to terminate twisted-pair cables, and are the predecessors to patch panels. While they are often used in low-bandwidth Ethernet, punch-down blocks are not usually able to support the Cat-5 cabling that is used in most Ethernet connections.

Installing cables into a punch-down block requires the use of a punch-down tool, which is specifically designed to punch the wire into place, where it is automatically stripped and cut. The block has a series of slots, each containing two sharp metal blades that cut through the wire’s insulation as it is punched down. Because there are no screws to tighten and no stripping and cutting of individual wires to worry about, punch-down blocks are a quick and easy way to connect telecommunications wires.

It’s important to note that punch-down tools come in different sizes, and it’s important to use the correct size, or you risk damaging the connectors-which, turn, risks bad connections and poor performance.

Installing your wiring in a punch-down box is simple, and requires just three easy steps:

  • Start by stripping the insulation off of your twisted-pair cable, using a wire stripper. If there’s a cotton string inside the insulation, pull on it to help you strip the insulation as far as you desire. Often, the exposed ends of the wires will get damaged, so just snip them off so you’re sure you’re working with wire in top condition.
  • Untwist the colored wires and locate the color key on the side of the punch-down box. This key will indicate which slots are used to connect the wires with matching colors. NOTE that there is no need to strip the PVC insulation off of these individual wires; the box will do that for you automatically.
  • Insert the colored wire into the matching-colored terminal and punch down with your punch-down tool until it clicks. The click indicates that it has stripped and cut the wire and established the connection. And that’s all there is to it!