Do-it-yourself VoIP

Tired of paying for phone service for your home or business? Consider VoIP-that’s Voice over IP, a way of referring to transmitting real-time voice (and even video) sessions over the Internet, and bypassing your phone company in the process.

If you’re looking to cut the cord to your phone company, you have two main options for how to make the switch to VoIP: (1) A hosted VoIP PBX (that’s Private Branch Exchange, or more simply, phone system), or (2) A Do-It-Yourself VoIP PBX. Here’s what you should know about each of these options.

HOSTED VoIP PBX. You know some of these names already: Skype Connect, Vonage, RingCentral, and GoogleVoice-to name a few. These are existing commercial services you simply buy into, and there’s not much more you need to do. Provide IP phones for your employees, optimize your data network to handle voice traffic, and upgrade to high-speed Internet; your provider will do all the rest. There’s still a cost involved, but it’s much lower than your current phone bill. Of course, all this convenience means you give up something-and that’s customizability and control. Your VoIP phone service will be limited to the options that your third-party vendor offers, and the quality will be dependent on your vendor as well; you won’t have control over things like that. But if you want an easy, inexpensive VoIP solution and you don’t have the tech savvy to build your own system, this may be the way to go.

DO-IT-YOURSELF VoIP PBX. There’s no way around it: Creating your own DIY VoIP PBX takes some technical know-how, so it’s not for everyone. But with open-source software, it may be easier than you think. Probably the most popular solution is Asterisk. You can set it up in four not-so-difficult steps:

  • Buy the server.
  • Install the server software. A Linux OS is most often recommended, and you may also need to install some additional open-source software as well (depending on the version you’re using).
  • Install one of three versions of open-source PBX software (Elastix, PBX in a Flash, or AsteriskNow).
  • Use SIP trunking to connect to the outside world.
  • Buy and connect your telephones.

With that, you’ll have an inexpensive home or business phone system that is customizable to your needs.

Data Punch Down

If you’re installing your own telecommunications system or data network, it’s likely that you’ll encounter a punch-down block and tool (also known as a Krone block and tool, named for the Krone LSA-PLUS, the European counterpart to the American 110 block).

Punch-down blocks are IDC connectors (that’s “insulation displacement connectors”) used to terminate twisted-pair cables, and are the predecessors to patch panels. While they are often used in low-bandwidth Ethernet, punch-down blocks are not usually able to support the Cat-5 cabling that is used in most Ethernet connections.

Installing cables into a punch-down block requires the use of a punch-down tool, which is specifically designed to punch the wire into place, where it is automatically stripped and cut. The block has a series of slots, each containing two sharp metal blades that cut through the wire’s insulation as it is punched down. Because there are no screws to tighten and no stripping and cutting of individual wires to worry about, punch-down blocks are a quick and easy way to connect telecommunications wires.

It’s important to note that punch-down tools come in different sizes, and it’s important to use the correct size, or you risk damaging the connectors-which, turn, risks bad connections and poor performance.

Installing your wiring in a punch-down box is simple, and requires just three easy steps:

  • Start by stripping the insulation off of your twisted-pair cable, using a wire stripper. If there’s a cotton string inside the insulation, pull on it to help you strip the insulation as far as you desire. Often, the exposed ends of the wires will get damaged, so just snip them off so you’re sure you’re working with wire in top condition.
  • Untwist the colored wires and locate the color key on the side of the punch-down box. This key will indicate which slots are used to connect the wires with matching colors. NOTE that there is no need to strip the PVC insulation off of these individual wires; the box will do that for you automatically.
  • Insert the colored wire into the matching-colored terminal and punch down with your punch-down tool until it clicks. The click indicates that it has stripped and cut the wire and established the connection. And that’s all there is to it!

Home Electrical Inspections

As you probably know, there are certain moments in the life of your home when an electrical inspection will be required. These include the time of the initial electrical installation, before electricity can be supplied to the house; at the time of a permitted electrical upgrade; and at the time of a home purchase (as part of the four-point inspection required by nearly all home insurance companies). But even outside of these required times, a period home electrical inspection is a good idea to ensure that your electrical system is functioning safely and efficiently, in line with the standards set by the National Electrical Code (NEC). It’s an especially good idea to conduct an electrical inspection when you’re remodeling or adding a new electrical appliance, or if your home is over 40 years old.

Why Get A Home Electrical Inspection?

  • It’s the law! Although home electrical inspections are only mandatory at certain moments (like new construction, permitted renovations/upgrades, and as required by insurance companies for home purchases), keeping your home in compliance with NEC standards is required by law at all times. In the city of Scranton, for instance, violations of the NEC code carry penalties of $200 to $600 per day!
  • It helps prevent fires and electrocutions. The Electrical Safety Foundation (ESF) reports that electrical failures cause 43,900 home fires every year, resulting in 400 deaths, 1,400 injuries, and $1.5 billion in property damage. And the Consumer Product Safety Commission (CPSC) identifies small appliances plugged into inadequate/improper home wiring as the leading cause of accidental electrocutions. You can protect yourself from these hazards by routinely having your home electrical systems inspected to ensure everything is in proper condition.
  • It saves you money. Outdated and inefficient electrical systems mean wasted energy. And wasted energy means wasted money. Ensuring that your home electrical systems are up-to-date and functioning properly will save you money in the long run.

What Does a Home Electrical Inspection Cover?

To make sure that your home electrical system is safe and efficient, your electrical inspector will check the following:

  • Electrical Panels. Your inspector will ensure that your electrical panels are in good general condition, with matching breakers, no empty spaces, and proper wiring to meet your home’s needs, all with proper labels in place.
  • Electrical Boxes and Switches. All electrical boxes and switches should be flush with the wall, large enough to accommodate the amount of wire in them, and properly covered.
  • Wiring and Components. If your home makes use of outdated knob-and-tube or aluminum wiring, your electrical inspector will note these hazards and recommend upgrades. The inspector will also identify any outdated or degraded wiring and other electrical components, as well as wiring mistakes that may have been made by contractors or DIY homeowners.
  • Bulbs and Extension Cords. Some of the biggest fire hazards are small matters—like using bulbs with the wrong wattage, overloading plugs with multiple extension cords, or failing to use surge protectors. Your home electrical inspector will identify these types of hazards and recommend safer solutions.
  • Smoke and Carbon Monoxide Detectors. Fire and carbon monoxide poisoning represent significant home hazards. But the detectors that protect you from these hazards are only good if they’re working properly. Your electrical inspector will check to make sure smoke and carbon monoxide detectors are properly installed and functioning.
  • Grounding and AFCIs. Whether in your main panel or in specific parts of your home (like the bathroom, kitchen, and garage), Arc Fault Circuit Interrupters (AFCIs) break the circuit when an electrical arc is detected, helping to prevent fires. And proper grounding protects against current fluctuations. Your electrical inspector will make sure these safety measures are in place.
  • Appliances and Components. Electrical hazards may not be in your electrical system, but in the appliances and components you plug into it. Your electrical inspector will let you know if the things using electricity in your home are not functioning safely or efficiently.
  • Checklist for Upgrades and Repairs. Once your home electrical inspection is complete, your electrical inspector will provide you with a detailed report prioritizing needed repairs and recommended upgrades. The result will be a safer and more energy-efficient home for you and your family.

Electrical Permit Requirements

Do I Need a Permit?

The Pennsylvania Code (§403.42) requires that owners and/or agents apply for a permit whenever they intend to convert or replace any electrical system regulated by the Uniform Construction Code. According to the PA Code, this includes all electrical installation and upgrades, with the following exceptions:

  • Minor repair and maintenance work that includes the replacement of lamps or the connection of approved portable electrical equipment to approved permanently installed receptacles.
  • Electrical equipment used for radio and television transmissions. The provisions of the Uniform Construction Code apply to equipment and wiring for power supply and the installation of towers and antennas.
  • The installation of a temporary system for the testing or servicing of electrical equipment or apparatus.

Outside of these exceptions, permits are required by law.

Obtaining a Permit

In Pennsylvania, permits for electrical installation and upgrades are typically handled by the municipality in which the building is located. In Scranton, contact the Department of Licensing, Inspections and Permits on weekdays, between 8:00 am and 3:30 pm, at (570) 348-4193. (Permit applications may be submitted on weekdays up to 4:30 pm, but those submitted after 3:30 pm will not be processed until the next business day.) The Department issues decisions on commercial permits within 30 days, and residential permits within 15 days, so it’s important to apply for your permit well in advance of the date on which you plan to commence work. Failure to obtain a permit when required results in the fee for the job being doubled.

According to Scranton Code §215-3, upon filing of the written application and payment of the required fee, a permit will be issued in duplicate to the electrical contractor (or person making the application). One copy of this permit must be conspicuously displayed on the premises where the work is being done, and it must remain in place until the work has been inspected and approved by either the electrical underwriters agency or the Electrical Inspector of the City of Scranton.

Requirements

In submitting drawings as part of the permit application process in the City of Scranton, the following are required:

  • Location of electrical devices: lighting, receptacles, switches, equipment, appliances, transformers, panels, and subpanels
  • Size and type conductors
  • Panel and subpanel schedule

LIGHTING MAINTENANCE

Home and business lighting systems are not something you want to have to think about; that’s our job! From designing just the right lighting system for your home or business to keeping it properly maintained for optimal performance and efficiency, we worry about lighting maintenance so you don’t have to.

Equipment

As with any part of your home or business life, when it comes to lighting you want more bang for your buck. In lighting terms, that means delivering more lumens per watt (LPW). Achieving that goal is, in part, a matter of having the right equipment. Our experienced team can perform a lighting audit to determine which parts of your current system are operating efficiently and which parts are costing you more money than they should. Where appropriate, we’ll help you to upgrade to energy-efficient LED lighting—from selecting the right fixtures, to engineering services, and on to installation. We handle initial lighting design, custom retrofits, and ongoing servicing to make sure you have the most efficient equipment and that it’s working to its full potential.

Operations and Management

Having the right equipment is only the first part of an efficient, cost-effective lighting system. Just like car maintenance, lighting maintenance causes you fewer headaches and costs you less money when you’re being proactive and not just responding to things that go wrong. Take light bulbs, for instance. An effective lighting maintenance program will get maintenance costs under control by staying ahead of burned-out bulbs. And our experienced team will see to proper disposal of old bulbs to ensure safety.

Did you know that some bulbs lose a significant amount of their brightness over time? When that happens, you’re paying for more watts just to get the same amount of light. And then there’s cleaning. Just keeping your lighting fixtures properly cleaned and maintained helps ensure your lighting dollars aren’t being wasted.

With a proper lighting maintenance program in place, you’ll keep your lighting systems at peak performance for the life of your building. Call us for a lighting system audit to determine where we can save you money on your energy bill.

HOME ENERGY SAVING DEVICES

Saving energy in your home is easier than you may think. And saving energy means saving money!

While there are plenty of habits you can develop to cut down on the amount of energy your home consumes, there are also some great energy saving devices to help make it easier. For the purposes of this brief post, we’ll concentrate on four categories of devices.

1. Energy Efficient Products

Let’s face it, when it comes to energy efficiency, some products are just built better than others. If you buy LED or fluorescent lightbulbs, you’re going to use less energy than if you buy incandescent bulbs—and over time, that can mean considerable savings. And if that’s true of something as small as light bulbs, think of how much more true it is of larger consumers of energy in your home, like dishwashers, air conditioners, washers, dryers, and refrigerators. Technology is moving quickly to create radically more energy-efficient appliances (like magnetic refrigerators), but even with more conventional appliances, you can be sure you’re saving the most you can on energy by looking for the Energy Star certification label.

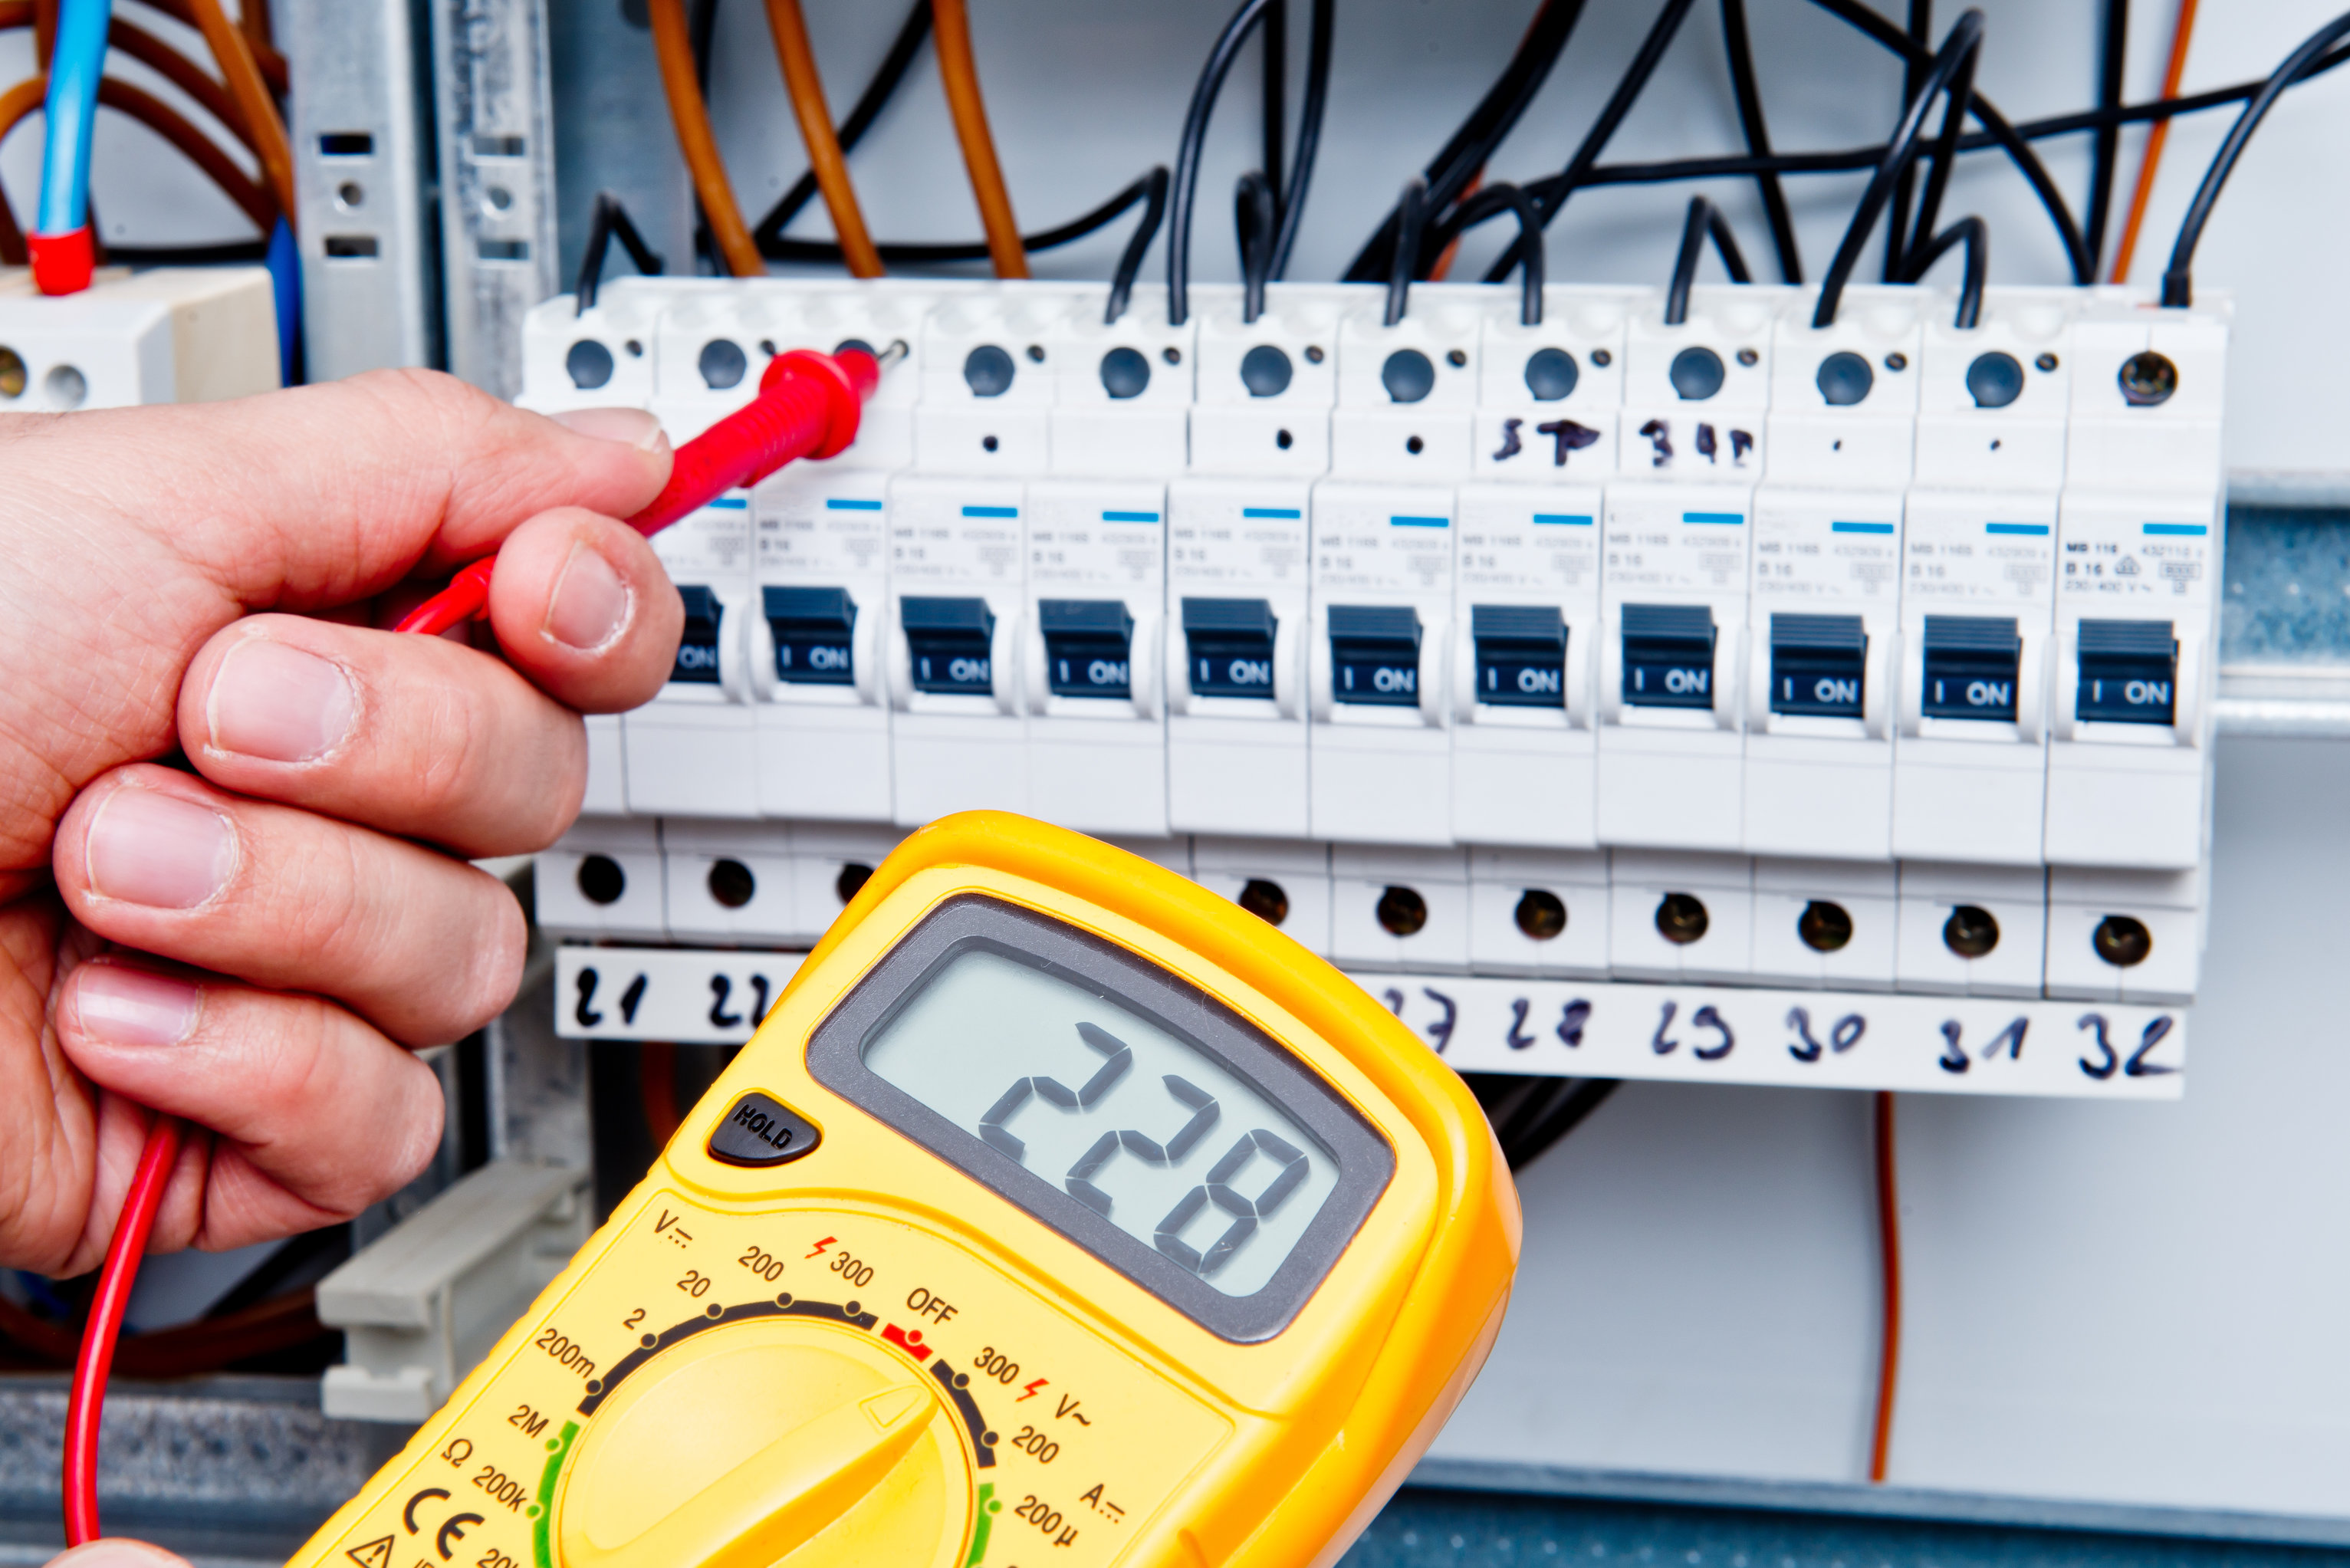
2. Monitors and Meters

It’s hard to know how much energy you can save if you don’t know how much energy you’re using. Chances are, you already have some monitoring devices available to you; it’s just a matter of learning to pay attention to them—like your electrical and gas meters. In addition, there are some simple devices you can buy to help you determine your energy use, as well as the places where you’re wasting energy (and money). From a simple thermometer to an infrared heat gun to a full-house electricity monitor, devices that help you measure your energy consumption will put you in a better position to make smart choices about where you can save.

3. Direct Energy Saving Devices

There are plenty of devices that are intended specifically to help you save energy by helping you not to waste energy when you don’t need it. Investing in a few of them will pay off in the long run. Most of us have seen programmable thermostats; these help us to consume heating and cooling energy only when we need it, and not waste it when we’re asleep or away. But there are even more sophisticated smart thermostats that take this feature to the next level; these devices actually learn your habits and control your heating and cooling accordingly. The other big waste of energy in most of our homes is from phantom energy. Phantom energy is the energy being drawn by devices when they’re off but still using power—like your plugged-in toaster, your remote controls, and the peripheral devices connected to the computer you may not be using at the moment. Of course, we can just learn to be more disciplined about unplugging these devices when they’re not in use, but that’s pretty inconvenient—which means we won’t do it all the time. A standby saver or smart power strip can take the inconvenience out of powering down. The standby saver detects when your device isn’t being used and shuts off power to that device until you need it, while a smart power strip cuts power to peripherals (like those on your computer) while the main device (the computer itself) isn’t being used. With all of these devices, the goal is the same: Use energy when you need it, and don’t waste energy when you don’t.

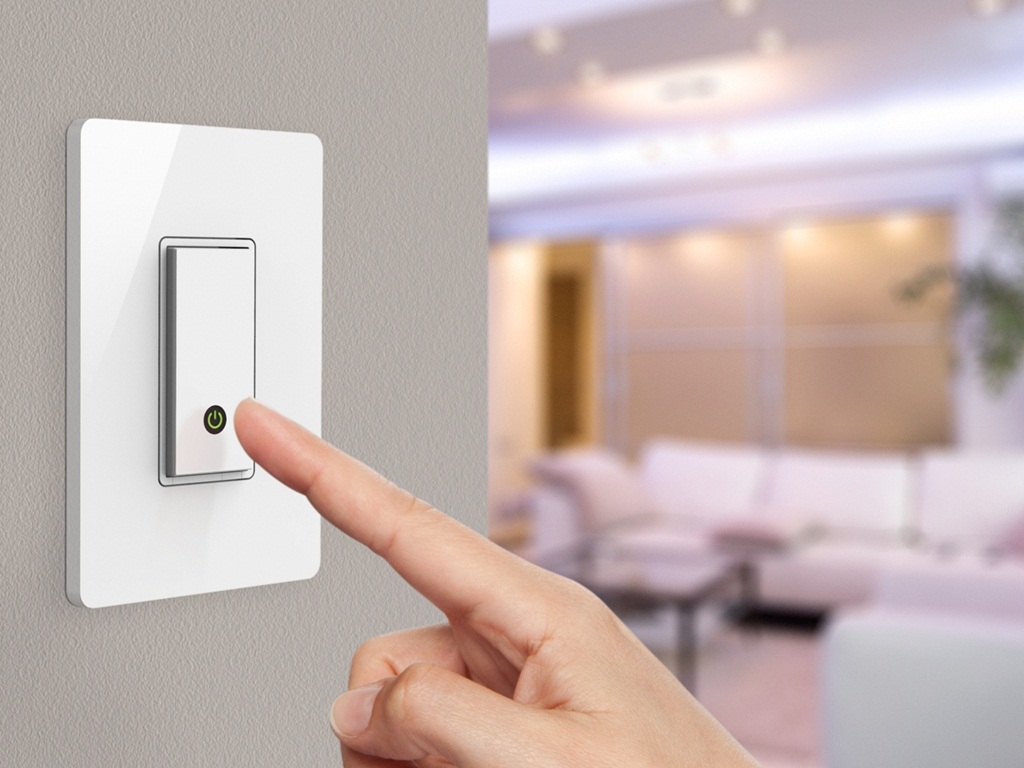
4. Indirect Energy Saving Devices

Not all of the devices that can help you save energy are specifically marketed for that purpose. Just like your programmable or smart thermostat keeps you from wasting heating and cooling energy when you don’t need it, timers and motion-activated switches keep you from wasting energy on lighting and other electrical devices when they don’t need to be on. Dimmer switches allow you to use your lighting without full power. And something as simple as a power bar can make turning off multiple devices a little more convenient—helping to ensure we do it more often. Of course, you can go full automation (domotics) and invest in smart home technology that allows your devices to communicate with one another, and with you—via your smartphone. And while, on the one hand, creating a smart home can cost you up front, in the long run it can help you to save money on your energy consumption if you choose to use it for that purpose.

Start small and work upward—you don’t have to invest in a full home automation system to start saving money. With a simple thermometer and more energy efficient lightbulbs, you’ll be on your way. And then, one device at a time, you can steadily increase the amount of energy—and money—you save!

Replacing a Double Breaker (Twin Pole)

Inside your breaker box, you may find some twin-pole electrical breakers, also known as double breakers. If your double breaker has tripped and you find you can’t reset it, it’s likely that your breaker has burned out and it’s time to replace it. Keep in mind: A great deal of electricity is passing through your breaker box, so a mistake can be deadly! You should consider hiring a licensed electrician to replace the breaker for you. But it’s always a good idea to know what your contractors are doing in your home, so here’s a brief overview of what’s involved in replacing an electrical double breaker.

STEP 1: MAKE SURE THE POWER IS TURNED OFF.

This is the single most important step in the process, because skipping it can KILL you!
Locate the main breaker for the box and shut it off. When working with electricity, it’s also always a good idea to wear rubber-soled shoes and rubber lineman’s gloves, and to use rubber-insulated lineman’s tools. Be sure that the floor you’re standing on is dry; for added safety, stand on a rubber mat. And as a rule, even when the power is off, only touch what you absolutely must touch to complete your task.

STEP 2: REMOVE THE FRONT PANEL OF THE BREAKER BOX

The face plate of the breaker box is held on by just a few screws. Removing it will give you access to the wires and the individual breakers.

STEP 3: REMOVE THE DEFECTIVE DOUBLE BREAKER

The double breaker is not actually screwed into the box; it’s held in place by clips, so it just needs to be snapped out. To remove the double breaker, grasp it firmly by the edges and snap it toward the outside of the box. This should dislodge the breaker from the box, though it will still be connected by the wires.

STEP 4: DISCONNECT THE WIRES

Because this is a double breaker, it is connected by not one but two power lines. Both will need to be disconnected. Once the breaker is free from the box, use an insulated lineman’s flat-head screwdriver to loosen the two screws holding the wires in place. Freed from the wires, the defective double breaker can be discarded.

STEP 5: ATTACH THE WIRES TO THE NEW DOUBLE BREAKER

Be sure that the new double breaker you’re installing has the same specs as the one you’re replacing. Taking your new double breaker, insert the power wires into the two slots on the breaker, and tighten them in place with your flat-head screwdriver. In attaching the wires, be sure that only the copper wires get tightened into the slots; you don’t want to pinch any of the black insulation from the wires, as this will impede the connection. Tighten the screws firmly in place to ensure that the wires don’t loosen over time.

STEP 6: INSTALL THE NEW DOUBLE BREAKER

With the new double breaker already connected to the wires, place the breaker into its slots in the box and snap it into place. Of course, because it is a double breaker, it will take up two slots in the box.

STEP 7: REPLACE THE COVER

While the power is still off, replace the face plate of the breaker box and screw it into place.

STEP 8: RESTORE THE POWER

It’s a good idea to turn all of the breakers in your box to the “off” position. Now you’re ready to turn on the main power to your box. You can then turn each of the individual breakers on, and power should be restored to your house.

How to install a new light switch

Electrical work can be daunting. But installing a new light switch is something you really can do on your own! To install a new light switch for a light controlled from just one place, follow these simple steps. (Lights controlled from multiple locations have some extra wires involved, and we’ll deal with that in another post.)

1. MOST IMPORTANT: TURN OFF THE POWER TO THE LIGHT SWITCH!

Whatever you do, don’t skip the first step! Always SHUT OFF THE POWER when you’re going to do any work on a light switch. Just find your circuit breaker box and flip off the breaker that controls the power to the switch you want to replace. Not sure which one that is? Turn on the switch and have someone stay in the room while you try different breakers. When the light goes out, have that person tell you; that’s the breaker for the switch you’re about to replace. If you can’t determine which breaker controls the light switch you want to replace, just turn off the whole panel until you’re done with your installation.

For added safety, consider purchasing an electrical tester or multimeter from your local hardware store or even online. You can get a cheap-but-effective model for under $20.

2. REMOVE THE LIGHT SWITCH FROM THE WALL.

Once you’re certain that the power is off, you want to remove the light switch from the wall. This requires several actions:

  • a. Using a flathead screwdriver, remove the face plate that covers the light switch.
  • b. Again, using a flathead screwdriver, remove the screws that hold the light switch to the wall.
  • c. Gently pull the light switch out of the wall.

3. DETACH THE WIRES.

Your light switch will likely have three wires: two black wires and one plain copper grounding wire. (Older light switches may have just two black wires with no ground.)

Remove the wires by pulling them out of the back of the outlet or by unscrewing them from the screws on the side, depending upon how they are connected. If you have trouble disconnecting wires that are inserted into the back of the switch, you can coax them out with the tip of a flathead screwdriver; alternatively, you can also cut them with wire cutters—but cut close to the connection so as not to shorten the wires too much.

4. CONNECT THE NEW LIGHT SWITCH.

  • a. Make sure that your wires have enough of the insulation stripped away to ensure a good connection. If not, you can strip them using a wire stripper or even just a sharp knife and a pair of pliers.
  • b. With a pair of needle-nose pliers, gently bend each of the exposed wires into the shape of a hook so that it can wrap around the terminal (copper screw) in the next step and make a clean connection.
  • c. Now you’re ready to connect the wires, one at a time. Using a Phillips-head screwdriver, connect each of the black wires to the copper terminals (screws) at the sides of the light switch by wrapping the wire hook you just created around the screw and then turning the screw until it is tight. Then connect the copper grounding wire to the green screw at the bottom of the light switch in the same way. That’s really all there is to it!

5. RE-ATTACH THE LIGHT SWITCH TO THE WALL.

Now that all of the wires are attached, gently fold the wires into the wall until the light switch can be screwed into the wall at top and bottom. This will require a flathead screwdriver.

Finally, place the outlet cover over the light switch and screw it into place.

6. RESTORE THE POWER AND TEST.

Now that your light switch has been changed, you should be able to safely return to the circuit breaker box and turn on the power. Turn on the light switch and ensure that it is working.

Voilà! You’ve installed your new light switch!

Replacing Your Wall Receptacle

Do you have an electrical outlet that’s not working properly? Perhaps it’s a two-plug receptacle and only one plug is working; or perhaps you’re not getting any power from either plug. Believe it or not, replacing your wall receptacle is something you can do on your own. Here we break it down for you in six easy steps.

1. MOST IMPORTANT: TURN OFF THE POWER TO THE RECEPTACLE!

Working with electricity can be dangerous. The single most important step you’ll take in this process is the first one: SHUT OFF THE POWER! If you’re not an experienced electrician, skipping this step could be deadly!

So how do you do this? Simple: Just go to your breaker box and turn off the breaker that controls the receptacle you want to change. If you’re not sure which breaker controls your receptacle, just turn off the whole panel.

To be sure the power is off, take a working lamp (or other electrical device) and plug it into each plug in the outlet, first one and then the other. Alternatively, you can use a multimeter, if you have one.

2. REMOVE THE RECEPTACLE FROM THE WALL.

Once you’re certain that the power is off, you want to remove the receptacle from the wall. This requires several actions:

  • Using a flathead screwdriver, remove the face plate that covers the receptacle.
  • Again, using a flathead screwdriver, remove the screws that hold the receptacle to the wall.
  • Gently pull the receptacle out of the wall.

3. DETACH THE WIRES.

If you have a newer outlet, it will have three wires: the live wire (black), the neutral wire (white), and the ground wire. An older outlet may have only two wires: neutral (white) and live (black).

Remove the wires by pulling them out of the back of the outlet or by unscrewing them from the screws on the side, depending upon how they are connected. If you have trouble disconnecting the wires, you can also cut them with wire cutters—but cut close to the connection so as not to shorten the wires too much.

4. ATTACH THE NEW RECEPTACLE.

  • Make sure that your wires have enough of the insulation stripped away to ensure a good connection. If not, you can strip them using a wire stripper or even just a sharp knife and a pair of pliers.
  • Next, connect your neutral wires (white) to the left side of the receptacle (in grounded receptacles, this is the side with the larger slit for the plug). You can connect the wires either by inserting them into the holes provided in the back of the receptacle, or by wrapping the wires around the terminals (screws) on the side, using a Phillips-head screwdriver.
  • Connect the ground wire to the terminal (screw) at the bottom of the outlet, using a Phillips-head screwdriver.
  • Finally, connect the live (black) wires to the right side of the receptacle (in grounded receptacles, this is the side with the smaller slit for the plug). Again, you can connect the wires either by inserting them into the holes provided in the back of the receptacle, or by wrapping the wires around the terminals (screws) on the side, using a Phillips-head screwdriver.

5. RE-ATTACH THE RECEPTACLE TO THE WALL.

With all of the wires attached, gently fold the wires into the wall until the receptacle can be screwed into the wall at top and bottom. This will require a flathead screwdriver.

Finally, place the outlet cover over the receptacle and screw it into place.

6. RESTORE THE POWER AND TEST.

Now that your receptacle has been changed, you should be able to safely return to the circuit breaker box and turn on the power. Plug a working light (or other electrical device) into the receptacle and ensure that it is working.

That’s all there is to it!